
Cabinet Painting & Refinishing
Interior Services
Exterior Services
Floor Services
Drywall Services
Removal Services
1st Painting Contractors did a very careful job for the interior of my townhouse. The painters left an immaculate new appearance in my home. I am refreshed by the new look on all the walls. I would recommend 1st Painting Contractors for anyone looking for professional painters. I will definitely use them again.

How to Prep and Paint Kitchen Cabinets in 10 Easy Steps
Tired of staring at those outdated kitchen cabinets? A gallon of paint can give them a new look. Longing for a fresh, modern look but dreading the cost of a full remodel? Painting your cabinets is a surprisingly easy and affordable way to achieve a dramatic transformation.
You can transform your kitchen into a chic, contemporary haven by painting the cabinets. Meticulous preparation is key. It is the foundation for a professional-looking paint job that will turn heads and spark compliments for years to come.
By taking the time to clean, sand, and prime your cabinets, you ensure the paint adheres smoothly and spotlessly, giving your kitchen a professional-quality finish that'll wow everyone.
Step 1: Plan and Prepare the Work to Paint Kitchen Cabinets
Planning and preparing ensures a smooth, professional-looking finish. It saves you time and frustration down the line.
Think about your schedule and lifestyle. Can you dedicate a few hours each day, or do you prefer longer weekend bursts? Always factor in drying times as most paints and primers need several hours to fully cure.
Realistic planning will help you avoid project fatigue and ensure a stress-free experience.
The materials and tools you’ll need are:
- Paint - Choose high-quality cabinet paint for durability. Consider both latex or oil paint options for your DIY kitchen makeover, each with its own pros and cons, including durability which is key in kitchen environments.
- Primer - Provides a smooth base for paint adhesion. Match the primer type to your paint choice (e.g., latex primer for latex paint).
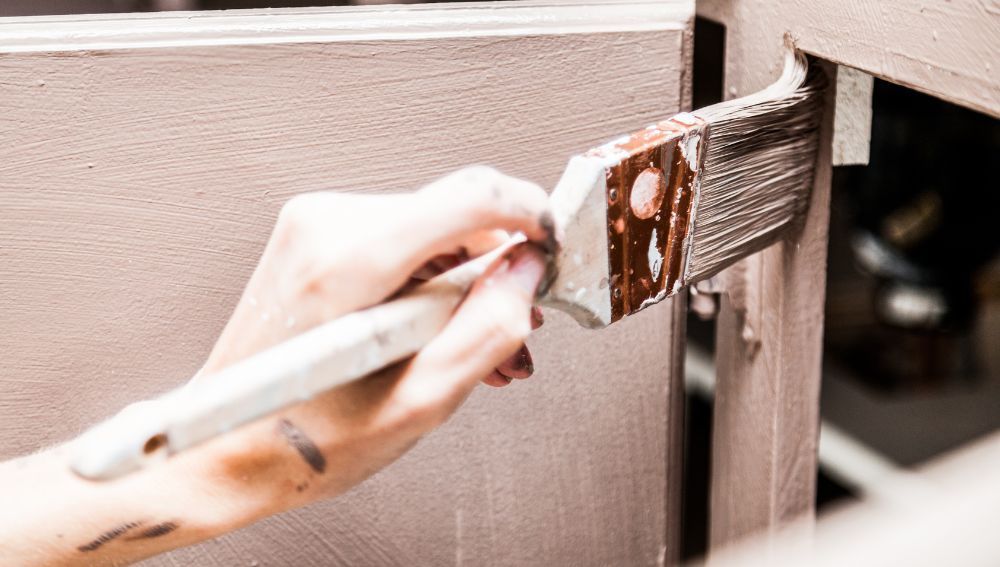
- Brushes - Invest in good-quality brushes for different sizes and purposes (angled for trim, flat for larger areas).
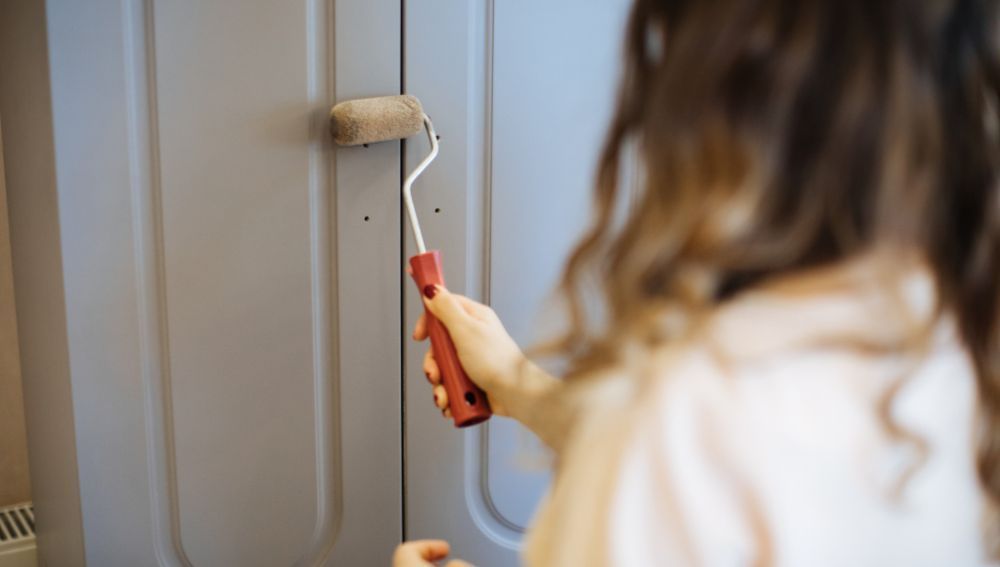
- Rollers - Go for a microfiber roller for a smooth finish on large surfaces when applying that new coat of paint.
- Sandpaper - Different grits (rougher for initial prep, finer for smoothing) are needed for various stages.
- Degreaser - Cuts through grease and grime, ensuring good paint adhesion.
- Drop cloths and painter's tape - Protect your floors, countertops, and other surfaces from accidental paint splatters.
- Safety gear - Dust mask, gloves, and safety glasses protect you while you work.
Step 2: Clear an Area Outside the House
Remove everything from your cabinets. This includes dishes, food items, cleaning supplies – basically, anything that shouldn't get a paint makeover. Label boxes or containers to keep things organized during their temporary relocation.
Next, designate a well-ventilated area outside your house as your personal painting haven to learn how to paint kitchen cabinets efficiently. This could be a porch, patio, or even a well-ventilated garage. Since you'll be working with paint fumes, prioritize
air circulation.
Here's what you'll need:
- Flat, sturdy surface - essential for a smooth way to paint cabinets. Use a table or saw horses to hold doors and drawers while you paint. Cover the surface with drop cloths for mess-free convenience.
- Good lighting - Natural light is ideal, but bright artificial lights work too. Ensure you have enough light to see every detail clearly.
- Ventilation - Open windows or use fans to keep the air flowing and prevent paint fumes from lingering.
- Comfort is key - opt for a spray paint can grip for ease of use during your painting project, making it easier if you want to paint your kitchen. Grab a stool or chair for comfortable working, especially if you'll be painting for extended periods.
Step 3: Remove Hardware and Doors
Before unscrewing anything in your kitchen makeover, grab a permanent marker and create a labeling system that includes notes to empty the cabinets. Assign a unique identifier to each door and its corresponding location (e.g., "Top Left Cabinet Door").
Extend the labeling love to your hardware as well, especially if you're updating the kitchen with new hardware. Mark each screw, knob, or handle with its corresponding door or drawer for stress-free reattachment.
Once everything is labeled, carefully remove the hardware and store it in separate, labeled bags or containers to keep screws and small pieces from getting lost in the painting process chaos. Consider using zip-lock bags with the corresponding door label written on them for extra organization.
Pro Tip: When planning a kitchen makeover, always take into account the old paint removal process. For an even coat, consider using spray paint for intricate areas. Visit your local paint store for expert advice on materials. If you have multiple cabinet styles or finishes, use different colored labels or markers to easily differentiate them during reassembly.
By taking the time to label and store your hardware, you'll prevent any post-painting assembly mishaps and ensure a smooth transition back to a fully functional kitchen.
Step 4: Clean All Surfaces
Kitchen cabinets accumulate grease and residue over time, which can prevent new paint from adhering properly. Apply the degreaser liberally to all surfaces of the cabinets (doors, frames, drawer fronts).
Wipe thoroughly with a clean cloth, ensuring you reach every nook and cranny. Always note that even hidden corners deserve a degreasing makeover!
Pro Tip: For stubborn grease, use a stronger degreasing solution, but always test it on an inconspicuous area first to avoid damaging the cabinet surface.
Once the degreasing is complete in your DIY kitchen project, it's time to rinse away any leftover residue. Dampen a clean cloth with warm water and gently wipe down all surfaces to prepare for a durable paint application in your kitchen. Don't forget to rinse the cloth frequently to avoid spreading dirt.
After rinsing, allow the cabinets to dry completely. Doing this is crucial, as painting on damp surfaces can lead to peeling and other problems.
Resist the urge to paint just yet! Drying is absolutely essential. Aim for at least 24 hours of drying time to ensure all moisture has evaporated. You can speed things up by using a fan or dehumidifier in your kitchen makeover, but don't rush the drying process of the durable paint.
Step 5: Sand the Surfaces
Sanding the surfaces guarantees a smooth, even surface for the paint to adhere to, ensuring a professional-looking finish.
Use medium-grit sandpaper (around 120 grit) to gently sand all surfaces of the cabinets, doors, and drawers for the perfect kitchen cabinet painting project. Pay special attention to areas with unevenness, bumps, or imperfections.
Sand with the grain of the wood, applying light pressure in circular motions.
Pro Tip: For intricate details or curved surfaces, use a sanding sponge for better control and flexibility.
Once you've achieved a smooth, even surface for your DIY kitchen makeover, banish the sanding dust bunnies. Use a tack cloth or a slightly damp rag to gently wipe away any dust residue. Be thorough, as dust can interfere with paint adhesion.
While sanding is important, don't overdo it! Excessive sanding can damage the wood. If you see bare wood after sanding, stop and move on to the priming step.
Step 6: Repair Damages Smooth
Bumps, holes, or cracks might mar the beauty of your enamel paint work. So how do you smoothen them?
Take your filler and apply it generously to any holes, cracks, or dents, making sure to fill them slightly above the surrounding surface. Once applied, smooth out the filler using a putty knife or a sanding block, ensuring it blends seamlessly with the surrounding wood for a flawless paint job.
Different types of wood filler exist for different purposes. Choose one suitable for your cabinets, whether it's for repairing small holes, deep cracks, or laminate surfaces before applying a new coat of paint.
Pro Tip: For larger cracks or gaps, consider using mesh tape along with the wood filler for added reinforcement and a smoother repair.
Once the filler dries completely, it's time for another round of dust removal. Using a tack cloth or a slightly damp rag, gently wipe down the sanded and filled areas to remove any dust residue.
Step 7: Apply Paint Cabinets Primer
Primers come in various types, each suited to different surfaces. Choose a primer specifically formulated for the material of your cabinet doors and drawer fronts.
Here's a quick guide:
- For wood cabinets - Go for a high-quality latex or oil-based primer. Latex primers offer easy cleanup and water resistance, while oil-based primers provide excellent adhesion and durability for your primed kitchen cabinets.
- For laminate cabinets - Use a bonding primer specifically designed for laminate surfaces. These primers create a strong bond between the laminate and the paint.
Pro Tip: If unsure about your cabinet material, consult a paint professional or hardware store employee for expert advice on choosing the right primer.
For even application and efficient coverage, consider using a paint sprayer for priming. Make sure you work in a well-ventilated area and wear protective gear like a mask and goggles.
Apply the primer in thin, even coats, following the manufacturer's instructions and overlapping each stroke slightly.
Once you've applied the primer, allow it to dry completely according to the manufacturer's recommended drying time. This is crucial for ensuring proper paint adhesion and avoiding future peeling or bubbling.
Step 8: Lightly Sand Again
Grab some fine-grit sandpaper (around 220 grit) and prepare for a gentle sanding session, a crucial step in learning how to paint kitchen cabinets. The goal here isn't to remove significant material, but rather to smooth out any minor imperfections left after priming for a top-quality kitchen makeover.
Sand lightly and evenly in the direction of the wood grain, applying minimal pressure. Focus on areas that might feel slightly rough or uneven to the touch.
Pro Tip: For intricate details or curved surfaces, use a sanding sponge for better control and flexibility.
Once you've achieved a baby-smooth surface, it's time to banish the dust bunnies created by sanding. Use a tack cloth or a slightly damp rag to gently wipe away any dust residue.
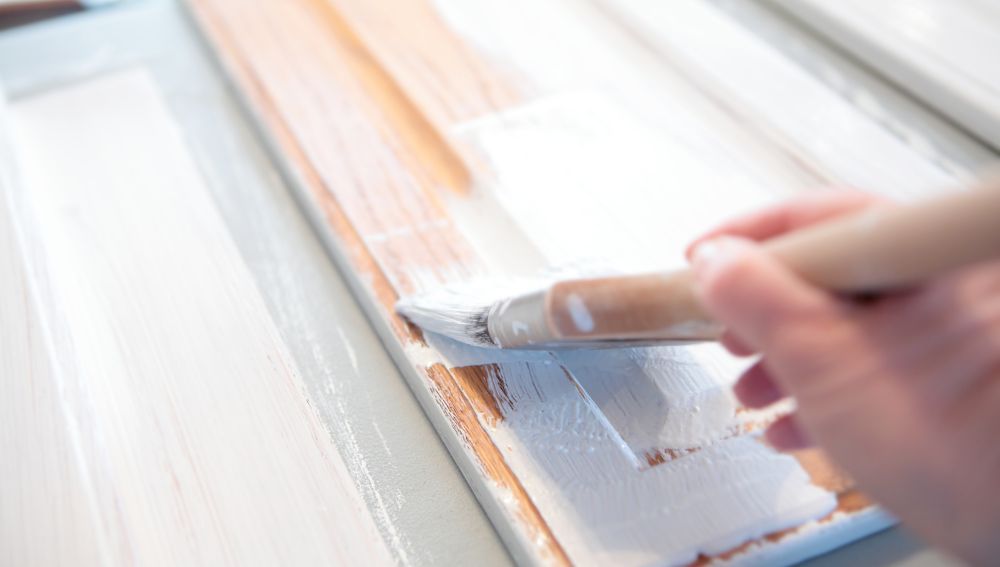
Step 9: Kitchen Cabinet Painting Process
Not all paints are created equal, especially when it comes to cabinets. Go for high-quality cabinet paint specifically formulated for durability and resistance to wear and tear. Consider both latex and oil-based options, each with its own advantages for that perfect coat of paint:
- Latex paint - Easier to clean up with soap and water, dries quickly, and offers good value. Choose a high-quality, durable latex paint specifically designed for cabinets.
- Oil-based paint - Provides exceptional durability and a smooth finish, but requires mineral spirits for cleanup and has a longer drying time.
Pro Tip: If unsure about which type of paint to choose, consult a paint professional or hardware store employee for expert advice based on your specific needs and preferences.
For efficiency and even application, consider using a paint sprayer for this step. Work in a well-ventilated area and wear protective gear like a mask and goggles. Apply the paint in thin, even coats, following the manufacturer's instructions and overlapping each stroke slightly.
Once you've applied the first coat, allow the paint to dry completely. This is crucial for ensuring proper paint adhesion and avoiding future peeling or bubbling.
After the first coat is dry, assess the finish. Depending on the paint coverage and desired opacity, you might need a second coat. If required, apply the second coat following the same thin, even application technique as before. Allow each coat to dry completely before proceeding to the next.
Pro Tip: For best results, apply 2-3 thin coats instead of one thick coat. This ensures even coverage and minimizes the risk of drips and runs.
Step 10: Reattach Hardware and Reassemble
While your paint might feel dry to the touch after a few hours, it needs time to fully cure and harden, ensuring your kitchen cabinet painting effort lasts. This usually takes 24-48 hours for latex paint and 48-72 hours for oil-based paint.
Check the manufacturer's instructions for your specific paint to be sure. Avoid reattaching hardware or use the cabinets prematurely, as this can damage the paint.
Once the paint is fully cured, it's time to reunite your hardware with its rightful owners – your cabinets! Remember the labels you created in Step 3? Now they come in handy.
Use them as your guide to reattach knobs, handles, and new hardware to their corresponding doors and drawers. Ensure everything is securely fastened and functions smoothly.
Pro Tip: If any hardware pieces are rusty or damaged, consider replacing them with new ones for a refreshed look.
With your hardware happily back in place, reassembling the cabinets. Again, refer to your labeling system from Step 3 to ensure each door and drawer finds its rightful home.
Double-check alignment and ensure everything opens and closes smoothly.
You've now successfully painted your kitchen cabinets, transforming them from drab to fab.
Bonus Tip: Clean your newly painted cabinets with a damp cloth and mild detergent to remove any dust or fingerprints. Avoid harsh chemicals or abrasive cleaners, as they can damage the paint.
Conclusion
Remember that drab, outdated space from the beginning? It's now a vibrant, personalized reflection of your style, thanks to the magic of paint and your commitment to a well-executed DIY project.
In summary:
- Prepping - Every meticulous step, from cleaning and sanding to priming and light sanding again, laid the foundation for a smooth, flawless paint finish. Remember, the extra effort in prep work truly pays off in the final result.
- Painting with purpose - Choosing the right paint and applying it with precision ensured durability and a professional-looking finish. Each thin, even coat brought your vision to life, one brushstroke at a time.
- Patience - Allowing the paint to dry completely between coats and before reattaching hardware might have felt like an eternity, but it guaranteed a long-lasting, chip-resistant result.
Get a Free Estimate Today
Home improvement requires a lot of determination, especially when updating your kitchen. While most people are content with their wood cabinets, there are some who desire more out of theirs. Let us help you achieve the kitchen of your dreams without busting your budget. Call us today for an estimate without additional costs!