Professional Painting Company
Interior Services
Exterior Services
Floor Services
Drywall Services
Removal Services
1st Painting Contractors did a very careful job for the interior of my townhouse. The painters left an immaculate new appearance in my home. I am refreshed by the new look on all the walls. I would recommend 1st Painting Contractors for anyone looking for professional painters. I will definitely use them again.

Expert Professional Painting Secrets: An Exhaustive Outline
Ever admired a paint job that looks smooth, polished, and just plain impressive? Want walls that wow, trim that pops, and a finish that looks straight out of a magazine? It's not magic, it's the knowledge of professional secrets!
Whether you're a seasoned DIYer or a pro picking up new tricks, there's magic in knowing the secrets the experts use.
Painting might seem simple, but mastering it takes more than just slapping on a coat of color. It's all about the hidden details, the smart choices, and the techniques that turn "good enough" into "outstanding."
Are you ready to ditch the paint splatters and hello to a flawless finish?
First things first: it's not just about the paint itself. The pros know that preparation and technique are the real keys to unlocking a high-quality finish.
In this comprehensive guide, I'll focus on expert painting secrets touching on preparation and technique, along with the smartest materials to use on the job.
Surface Preparation
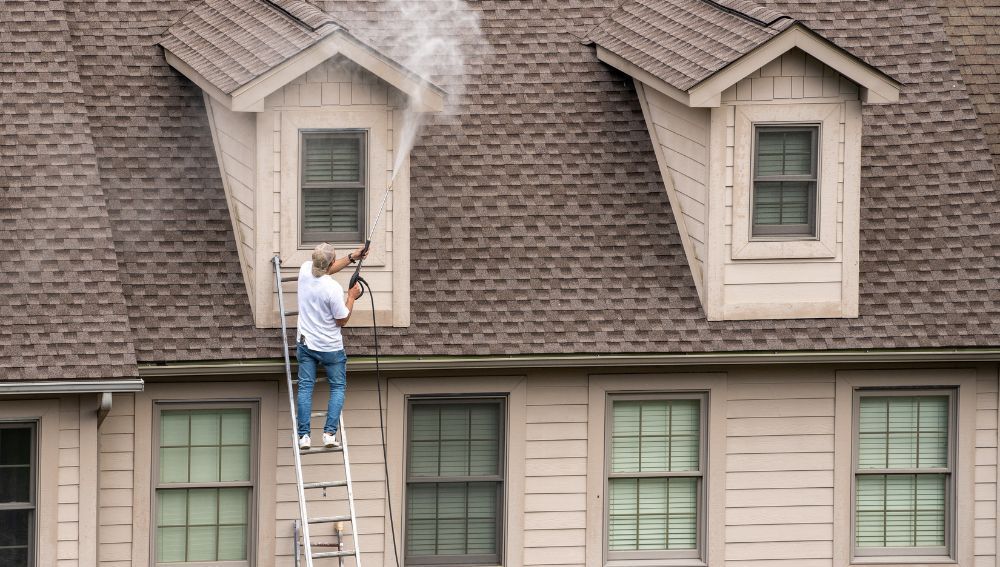
Before you even think about color, imagine this: you paint your masterpiece, only to see it peel and crack later. Yikes! That's why the pros swear by super clean surfaces.
Think of it like prepping a canvas for a painting. Dirt, grease, and grime are the enemies of good paint adhesion.
Have your cleaning supplies and banish them! Soapy water or a degreaser (depending on the surface) are your weapons.
Now, onto the smoothing magic of sanding. It's like giving your walls a mini-makeover to create a perfectly even base. Different grits do different things: coarse grits tackle rough spots, while finer grits polish things up.
Start rough, then go finer for a super smooth finish!
But what about those pesky gaps and cracks? The pros have a secret weapon - filler. Filling them before painting prevents future cracks and keeps your hard work looking flawless. Use the right filler for the job (there are different types for wood, drywall, etc.) and apply it like a pro – smooth and seamless.
Always remember, a little patching now saves you a big headache later!
With a super clean, smooth, and gap-free surface, you're ready to unleash your inner painting Picasso and proceed to the next step.

Primer Application
The next step is primer application. Now that your surface is prepped like a pro, it's time for the primer magic! Think of it as the invisible layer that bonds paint to your surface, creating a smooth, even canvas for flawless painting.
Surface matters. Different surfaces need different primers. Is it drywall, wood, metal, or something else? Match the primer to the surface for the best results.
Consider the type of paint you'll be using. Water-based paint? Grab a water-based primer. Oil-based paint? Oil-based primer is your friend.
Pro Tip: Always provide a detailed quote to avoid misunderstandings with the customer regarding the scope of painting services. Unsure? Ask a paint professional at your local store. They'll guide you to the perfect primer match.
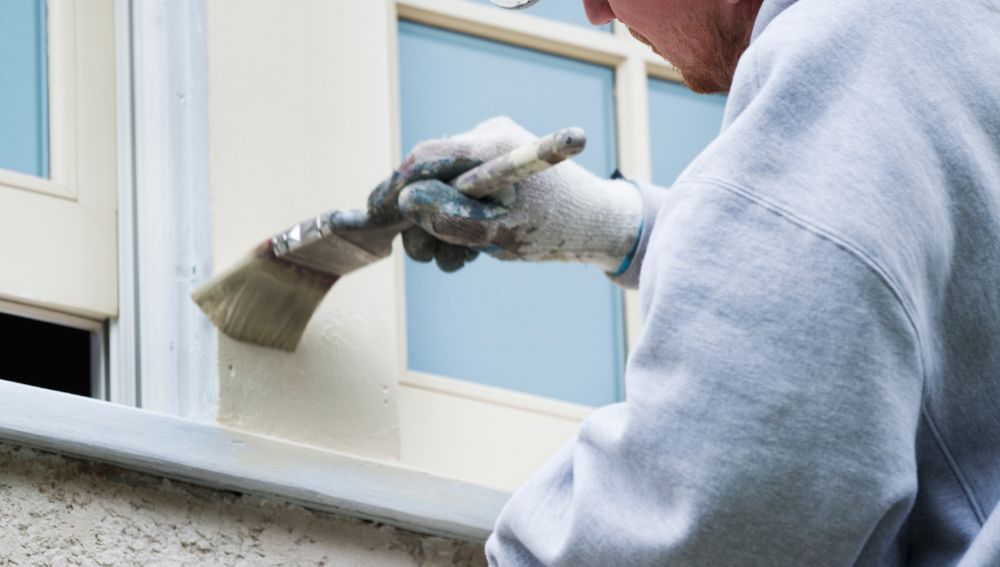
For trim, corners, and tight spots, always use the highest quality brush. Use smooth, even strokes and avoid overloading it with primer.
For larger areas, a roller is your time-saving BFF. Use a lint-free roller and apply thin, even coats in one direction. Don't forget to overlap your strokes!
Remember: One thin coat is better than one thick one. Too much primer can lead to peeling and unevenness. Apply multiple thin coats for the best results.
High-Quality Materials
The paint and tools that you choose is what will make your project sing. Professional painters don't skimp on materials; they know it's an investment in quality and save time and money in the long run.
What are you painting? Interior walls, exterior trim, or high-traffic areas like kitchens and bathrooms? Each calls for specific paint types. Consult a painting contractor or designer for expert advice.
Don't fall for the cheapest option. Invest in high-quality paint with good coverage, durability, and easy cleanup, especially when selecting exterior paint for a customer’s home. A flawless finish starts with a premium foundation.
Pro Tip: Look for features like washable finishes for high-traffic areas and low-VOC paints for better indoor air quality.
Invest in good-quality brushes with natural bristles for smooth application and minimal shedding, a tip often shared in expert painting services reviews. Different sizes tackle different tasks, so get a variety.
A good roller is your partner in efficiency. Choose a lint-free roller with a comfortable grip and the right nap length for your project (shorter naps for smooth surfaces, longer for textured ones).
Drop cloths, painter's tape, a sturdy tray, and sanding tools – these seemingly small things make a big difference in protecting your space and ensuring a professional finish.
Mastering Cutting In
Cutting in clean lines along edges and corners might seem tricky, but with the right technique, you can achieve excellent results.
Choose an angled brush for ultimate control. The angled bristles hug edges and corners, making sharp, clean paint lines a breeze—perfect for achieving a professional finish in commercial painting.
Lightly load your brush, avoiding drips. Less is more when it comes to paint!
Start at a corner. Hold the brush at a slight angle, with the bristles against the edge. Use smooth, light strokes along the trim/wall line. Think of it as "painting away" from the corner.
For straight edges, hold the brush perpendicular to the surface. Use steady, controlled strokes, following the line evenly. Imagine drawing a line with the brush tip.
Notice any wobbly lines? Use a clean, dry brush to gently nudge and smooth out any imperfections.
When it comes to handling the brush, hold it comfortably, but firmly, near the ferrule (metal part). Doing so gives you better control and avoids shaky lines.
Keep your elbow close to your body for added stability as you move the brush. Take your time! Rushing leads to mistakes. Slow, controlled strokes are your key to flawless edges.
Pro Tip: Practice makes perfect! Grab some scrap material and experiment with your cutting-in technique before tackling your main project.
Efficient Use of Painter’s Tape
A painter's tape is the key for crisp, clean lines and a professional finish. Using it right makes all the difference.
Before you tape, make sure the surface is clean, dry, and dust-free. Paint won't stick well to a dirty surface, leading to messy edges.
Use firm, even pressure as you apply the tape, ensuring good adhesion along the entire length. No gaps allowed!
For clean corner lines, carefully fold the tape at a 45-degree angle before pressing it down for a sharp edge for the paint to follow.
Overlap slightly when applying multiple strips of tape to avoid paint sneaking under.
Regarding removal, don't wait too long! Remove the tape when the paint is dry to the touch, but not fully cured. It usually takes around 24 hours.
Slowly peel the tape back at a 45-degree angle, pulling towards yourself. Rushing can rip the tape and damage your paintwork, a common issue that leads to repair calls in both residential and commercial painting sectors.
Notice any minor imperfections? Use a fine-grit sandpaper to gently smooth them out before applying another coat of paint.
Painting Techniques
Conquering roller and brush techniques unlocks the key to a great finish, an important milestone for those offering painting services. Load your roller evenly, avoiding drips. Aim for a thin, smooth coat – less is more!
Roll in a W-shaped pattern across the surface for even coverage and to avoid lap marks. Overlap each stroke slightly to avoid gaps and uneven areas.
Work in sections, keeping the leading edge of your painted area slightly wet as you move forward to prevent visible seams when drying.
Pro Tip: Use a clean, damp rag to wipe off any drips or splatters immediately.
Right brush, right job—key advice for painting services aiming at both residential and commercial markets.. Choose the right brush size and type for the task. Angled brushes conquer corners, while flat brushes handle larger areas.
Dip your brush only 1/3 into the paint, avoiding heavy drips. Tap off excess paint on the can rim.
Light strokes, big impact. Use smooth, light strokes in one direction. Don't press too hard, as this can leave brush marks.
Apply thin coats and allow each to dry before adding another to prevent paint buildup and ensure a smooth finish.
Pro Tip: For extra smooth results, lightly sand between coats (except on the final coat).
Layering Paint
Painting isn't a race! Ditch the thick-coat temptation and embrace the power of thin coats. Thin coats minimize visible brush marks and roller lap marks, leading to a smoother, more professional finish.
On top of that, thin coats are less prone to drips and runs, saving you time and touch-up headaches. They dry more evenly, preventing uneven textures and potential cracking.
Multiple thin coats create a stronger, more durable paint film that resists wear and tear better.
Adequate drying time between coats is crucial: Read the label. This advice is crucial in painting services to avoid unnecessary repairs. Each paint has its recommended drying time, so always follow the manufacturer's instructions.
Ignoring drying time can lead to peeling, cracking, and unevenness, a common repair issue addressed in professional painting services. Gently touch the painted surface. If it feels tacky, it's not dry yet. Wait until it feels completely dry before applying another coat.
Note: Rushing the process leads to subpar results. By embracing the thin-coat, proper-drying-time technique, you'll achieve a professional-looking, long-lasting finish that you can be proud of—a goal in both commercial and residential painting services.
Avoiding Common Mistakes
Even the pros make mistakes, but avoiding them altogether makes you a painting champion.
- Mix matters - Thoroughly mix your paint before starting and continuously stir throughout the project. This ensures consistent color throughout the can and avoids splotchy results.
- Same batch, same shade - For larger projects, buy all the paint you need from the same batch, indicated by a batch number on the can for color uniformity.
- Label - Label your paint cans with the project name, color name, and batch number. Doing so goes miles to help you get the right shade for touch-ups later.
For edge work, don't skip the painter's tape! It's your best friend for clean, crisp edges. Apply it carefully and firmly for maximum protection.
Master the cutting-in technique with an angled brush before rolling for clean lines where paint meets trim or other surfaces.Be mindful of drips, especially near edges. Wipe them up immediately with a damp cloth to avoid staining.
Pay extra attention to corners, as they're prone to paint buildup and smudging. Use a fine brush for precise touch-ups.
Cleanup and Maintenance
So you've painted like a pro, conquered the challenges, and now it's time to tie things up with a flourish. Rinse brushes with warm, soapy water immediately after use. Avoid harsh detergents that can damage bristles. Reshape bristles and store them upright to dry completely.
Remove excess paint with a paint scraper before washing your roller with warm water and soap. Spin it dry and store it flat to prevent misshaping.
Follow the manufacturer's instructions for cleaning your sprayer thoroughly for optimal performance and to prevent clogs.
Keep leftover paint in a sealed container, labeled with the project name and color. This saves you time and money for future touch-ups, making it ideal for both residential and commercial painting projects. Address minor nicks and scratches promptly with a small brush and matching touch-up paint. Early intervention prevents bigger problems later.
Regularly wipe down painted surfaces with a damp cloth to remove dust and grime. This helps maintain the paint's vibrancy and longevity.
Advanced Techniques
Want to amp up your painting game? I can recommend some advanced techniques for adding texture and special effects.
You can create a rustic, weathered look by dabbing paint onto the surface with a sea sponge. Experiment with different sponge sizes and colors for unique effects, a tip that can enhance both residential and commercial painting projects.
Crumple a fabric rag and use it to roll on paint for a textured, random pattern. Perfect for adding depth to walls or furniture.
Master the art of faux finishes like faux stone or wood grain using specialized tools and techniques. Doing this elevates your space with a unique, decorative touch.
Embrace the glamorous look of metallic paints. Choose the right sheen level (matte, satin, gloss) and apply thin coats for an even finish.
Transform a wall or furniture piece into a functional and fun chalkboard surface with chalkboard paint, a trendy offering in painting services. Follow the manufacturer's instructions for proper application and curing.
Achieve a sleek, modern look with high-gloss paint. An excellent base is crucial for a smooth, reflective finish in this case.
Staying Updated in the World of a Being a Professional Painter
Congratulations! You've conquered the world of expert painting advice, equipped with the knowledge and skills to tackle any project with confidence. But remember, the journey doesn't end here!
The world of painting is constantly evolving, offering new technologies, innovative products, and fresh techniques to explore.
The Painting Journey Never Ends: Keep Learning, Keep Creating About Interior and Exterior Paint!
Congratulations! You've conquered the world of expert painting advice, equipped with the knowledge and skills to tackle any project with confidence. But remember, the journey doesn't end here! The world of painting is constantly evolving, offering new technologies, innovative products, and fresh techniques to explore.
Subscribe to painting blogs, follow industry experts on social media, and attend workshops or online courses to stay updated on the latest trends and advancements.
Don't be afraid to experiment with new paint formulas, eco-friendly options, or specialty tools. Research and test them on small areas before diving into major projects, a practice recommended for both residential and commercial painting endeavors.
Keep challenging yourself! Learn new texturing methods, explore special finishes, or master advanced brushwork techniques. The more you practice, the more your skills and confidence will soar
I’d recommend experimenting as much as you can.
- Sample boards are your canvas: Don't be afraid to get messy! Use sample boards to experiment with color combinations, test new techniques, and practice achieving different effects.
- Embrace the unexpected: Happy accidents happen, but a quick review and repair can salvage the situation, a reassuring thought for painting services professionals. Sometimes, the most unique and beautiful results come from unexpected twists and turns. Use them as inspiration for further exploration.
- Share and learn: Connect with other painting enthusiasts online or in-person. Share your creations, ask questions, and learn from each other's experiences. The painting community is a valuable source of inspiration and support.
Key Benefits When Hiring a Professional Painting Company
While mastering DIY painting is admirable, there are numerous benefits to hiring a professional painting company for your next project.
Here are some key advantages:
Expertise and Experience
Professionals possess the knowledge, experience, and training to tackle any painting project, big or small. They understand different paint types, finishes, and application techniques for optimal results.
They can assess surfaces, identify potential issues, and recommend appropriate solutions to ensure proper adhesion and a long-lasting finish.
Quality and Efficiency
Experts in painting use premium paints, primers, and tools designed for professional use, leading to superior results and durability.
They have the equipment and manpower to complete projects quickly and efficiently, freeing up your time for other priorities.
Safety and Insurance
Professional painters prioritize safety measures like using proper equipment, ventilation, and following safety protocols, minimizing the risk of accidents and injuries. Reputable companies are insured. They have liability and worker's compensation insurance, protecting you from any potential damages or injuries.
Peace of Mind and Guarantee
Another benefit of hiring a professional painter relates to a stress-free experience. Professionals handle all the planning, prep work, painting, and cleanup, leaving you free from the stress and hassle of a DIY project.
Many companies offer warranties on their work, ensuring your satisfaction and providing peace of mind.
Additional Benefits
- Access to specialized services: Professionals can handle specific projects like wallpaper removal, texture application, or intricate detailing.
- Consultation and color expertise: They can guide you in choosing the right colors and finishes to suit your space and preferences.
- Cleanliness and professionalism: Experienced painters ensure a clean and organized work environment, minimizing disruption and mess in your home.
Ultimately, hiring a professional painting company offers expertise, efficiency, peace of mind, and high-quality results, potentially saving you time, money, and stress in the long run.
Conclusion
From mastering prep work to wielding your tools with confidence, this detailed article on expert painting has equipped you with the secrets to achieving flawless finishes that impress. It's not just about slapping on a coat of paint; it's about the hidden details, the smart choices, and the techniques that unlock professional-level results.
Think back to the critical secrets we've uncovered:
- Preparation is king: A clean, smooth surface sets the stage for paint to truly shine.
- Tools matter: Invest in quality brushes, rollers, and tape for efficient application and precise lines.
- Technique is key: Mastering cutting in, brushwork, and roller strokes makes all the difference in achieving a smooth and attractive finish.
- Thin coats, big impact: Resist the urge to rush; multiple thin coats ensure even coverage and prevent peeling.
- Details elevate: From clean edges to proper cleanup, attention to detail sets your work apart.
Get a Free Estimate Today
Painting a house or business is more than just applying a fresh coat of paint. It's an investment that can add value to your property and improve its curb appeal. Whether you're looking to sell your home or simply want to make it look nicer, painting is always a good idea. Give us a call today and experience the difference we can make.